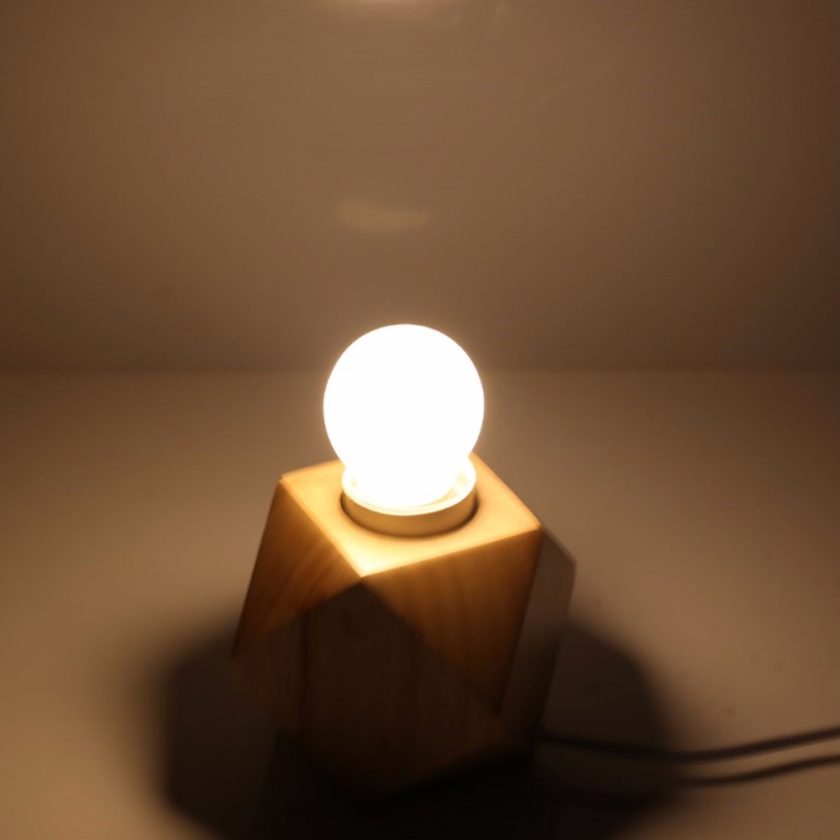
Wiring a lamp with multiple bulbs may seem like a daunting task, but with the right knowledge and tools, it can be a straightforward process. By following a few simple steps, you’ll be able to create a well-lit and visually appealing lamp that adds ambiance to any room. So, let’s get started!
Understanding the Basics of Wiring a Lamp
Before diving into the wiring process, it’s essential to have a basic understanding of how lamps work. A lamp typically consists of a base, a socket, a switch, and a cord. The socket holds the bulb, and the switch controls the flow of electricity. The cord connects the lamp to a power source.
Safety Precautions Before You Begin
Before you begin wiring a lamp, safety should be your top priority. Here are some important precautions to keep in mind:
- Disconnect the Power: Ensure that the lamp is unplugged and the power source is switched off before starting any work. This will prevent any electrical shocks or accidents.
- Work in a Well-Lit Area: Adequate lighting will help you see the wiring connections clearly and reduce the risk of mistakes.
- Use Insulated Tools: When handling wires and connections, use insulated tools to avoid electric shocks.
- Check for Frayed Wires: Examine the lamp’s cord and wires for any signs of damage or fraying. If you find any, replace them before proceeding.
Tools and Materials Needed
To wire a lamp with multiple bulbs, gather the following tools and materials:
- Screwdriver (flathead and Phillips)
- Wire strippers
- Electrical tape
- Lamp socket(s)
- Lamp switch
- Bulbs
- Lamp cord
- Wire connectors
- Wire nuts
- Heat shrink tubing (optional)
Step 1: Preparing the Lamp Base
Start by preparing the lamp base. Remove the existing socket, switch, and cord if necessary. Clean the base and ensure it is free from any debris or dust. This will provide a clean surface for the new wiring.
Step 2: Wiring the Socket
Next, wire the socket. Follow these steps:
- Strip the Wires: Use wire strippers to strip the insulation from the ends of the lamp cord, exposing the wires.
- Connect the Wires: Attach one wire from the cord to the silver terminal of the socket and the other wire to the brass terminal. Make sure the connections are secure.
- Secure the Wires: Use wire connectors or wire nuts to secure the connections. You can also use heat shrink tubing for added protection.
Step 3: Wiring the Switch
Now, it’s time to wire the switch. Follow these steps:
- Identify the Switch Terminals: The switch will have two terminals, typically labeled “On” and “Off.” Identify these terminals.
- Connect the Wires: Attach one wire from the cord to one terminal of the switch and another wire from the switch to the socket. Ensure the connections are tight and secure.
- Secure the Wires: Use wire connectors or wire nuts to secure the connections.
Step 4: Connecting the Wires
After wiring the socket and switch, it’s time to connect the wires. Follow these steps:
- Match the Wires: Match the corresponding wires from the cord to the socket and switch connections. Ensure that the positive and negative wires are correctly aligned.
- Secure the Connections: Use wire connectors or wire nuts to secure the connections. Double-check that the connections are tight.
Step 5: Testing the Connections
Before proceeding further, it’s crucial to test the connections. Plug in the lamp and turn on the switch to verify that the bulb lights up. If the bulb doesn’t light up, double-check the wiring connections and troubleshoot any issues.
Adding Multiple Bulbs to the Lamp
Now that the lamp is wired and functioning, let’s explore how to add multiple bulbs for a brighter and more impactful lighting effect.
Step 6: Wiring Additional Sockets
To add multiple bulbs, you’ll need to wire additional lamp sockets. Follow the same steps outlined in “Step 2: Wiring the Socket” for each additional socket you want to install.
Step 7: Connecting the Bulbs in Parallel or Series
When wiring multiple bulbs, you have the option to connect them in parallel or series. Here’s a brief explanation of each:
- Parallel Connection: In a parallel connection, each bulb has its own individual connection to the power source. If one bulb burns out, the others will still remain lit.
- Series Connection: In a series connection, the bulbs are connected in a chain, one after the other. If one bulb burns out, the entire circuit will be interrupted, and all bulbs will go out.
Step 8: Finalizing the Wiring
Once you have connected the additional sockets and decided on the wiring configuration (parallel or series), finalize the wiring connections by matching the wires from the cord to the corresponding connections on each socket. Secure the connections using wire connectors or wire nuts.
Troubleshooting Common Issues
While wiring a lamp with multiple bulbs, you may encounter some common issues. Here are a few troubleshooting tips:
- Dim Bulbs: If the bulbs appear dim, check the wattage compatibility between the bulbs and the lamp’s wiring. Ensure that the wiring can handle the combined wattage of all the bulbs.
- Bulbs Not Lighting: If the bulbs don’t light up, double-check all the wiring connections, including the socket, switch, and cord.
- Flickering Bulbs: Flickering bulbs may indicate loose or faulty connections. Tighten all the connections and replace any damaged components if necessary.
Conclusion
Wiring a lamp with multiple bulbs can be a rewarding DIY project that enhances the aesthetics and functionality of your space. By following the step-by-step instructions provided in this article, you can wire a lamp with multiple bulbs safely and effectively. Remember to prioritize safety, double-check your connections, and troubleshoot any issues that may arise.


